
Creating a web page in FrontPage Express (Continued)
Break
Insert Table
Cell Properties again
Insert Menu
Finished
To view a larger version of the thumbnail's just click on them!
Break:
6 Leave the cursor in the heading cell and select "Break" from the "Insert" menu. When the dialog box opens, click the OK button. You'll now get a new line under the first. Give this a different format ( I have gone for 18pt Times New Roman, Bold Italic in silver) and type in a sub-heading.6 Leave the cursor in the heading cell and select "Break" from the "Insert" menu. When the dialog box opens, click the OK button. You'll now get a new line under the first. Give this a different format ( I have gone for 18pt Times New Roman, Bold Italic in silver) and type in a sub-heading.
Insert Table: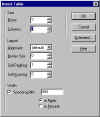

7 Click underneath the existing table and from the "Table" menu, select "Insert Table" again. This time, select 5 rows and 3 columns, but specify the width in the same way as before - 800 pixels.7 Click underneath the existing table and from the "Table" menu, select "Insert Table" again. This time, select 5 rows and 3 columns, but specify the width in the same way as before - 800 pixels.
Cell Properites again: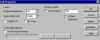
8 Move the mouse pointer to the top of the first column of the new table, watch it turn to a down arrow and click to define the whole column. As in Step 4, select "Cell Properties" and specify the width as 140. Repeat for the middle column, specifying the width a 150, and for the right-hand column, specifying 494 pixels..8 Move the mouse pointer to the top of the first column of the new table, watch it turn to a down arrow and click to define the whole column. As in Step 4, select "Cell Properties" and specify the width as 140. Repeat for the middle column, specifying the width a 150, and for the right-hand column, specifying 494 pixels..
Insert Menu:
(see FPE Images for a more in depth tutorial)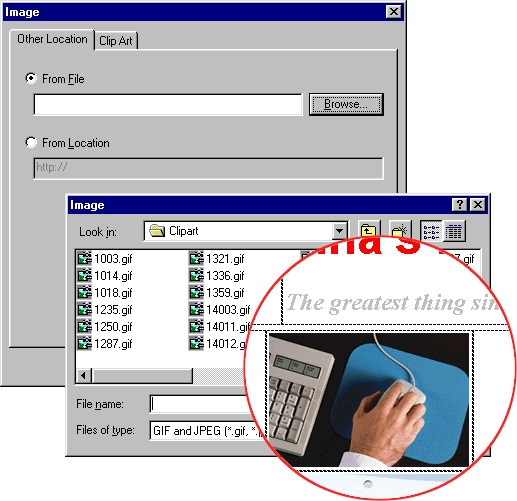
9 Click in the top middle cell of the new table and from the "Insert menu", select "Image". Use the dialog box to locate and select an image. I have used an images from clip art in windows. Add other images to the cells under this.9 Click in the top middle cell of the new table and from the "Insert menu", select "Image". Use the dialog box to locate and select an image. I have used an images from clip art in windows. Add other images to the cells under this.
Finished: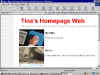

10 Click in the cell to the right of the top image, type in some text and then format it as in Step 5. Repeat for the other cells below this in the column. Then save your document and open it from your browser to see the finished Web page.10 Click in the cell to the right of the top image, type in some text and then format it as in Step 5. Repeat for the other cells below this in the column. Then save your document and open it from your browser to see the finished Web page.